Adding Height and Light to the Master Bathroom
Alright, so I apologize …. while I I have been posting frequently about the house on Instagram, I haven’t been posting very much on the blog. The truth is, I’m working! I had no idea how time consuming this project would be given that I have never remodeled a house from top to bottom before, but holy moly is it a lot of work. Gone are the days where I would sit home in my pajamas and bake cookies. I have to be here every day, all day. It’s amazing what happens when you turn your back for a couple hours. Drywall isn’t put on properly, electrical outlets are just framed over, door jams are off, cement is uneven, and I can’t even tell you what else. I spend most of my days driving back and forth from work - to drop off at school - to work again - back to school to do mom duties - back to work - to tile stores, lumber yards, Home Depot, Gelsons to use their bathroom since I refuse to use the Andy Gump - then back to school, then to cooking class, soccer, home, back to work with the kids, then back home. And then it’s basically Ground Hog’s Day the next day after. Thank goodness for Robert on the weekends, because while everyone sleeps I get up at 6:30am drive over to the project open the doors and then make it back in time to cook breakfast before anyone wakes up. Also, thank goodness for Robert picking up the phone every day when I call him to ask him construction questions on ….. well everything.
So basically, what I’m saying … is I am exhausted and by the time I get home I don’t even want to look at my photographs!
So to keep you posted on what’s happening, the house is almost done. The walls are up and closed, the dry wall is done, the bathrooms are finished with cement, the exterior of the house is painted, and now I need to tile, paint the interior, finish the landscaping, and install all my fixtures so scroll down for the master bathroom tutorial and see what has been happening and where I am now!
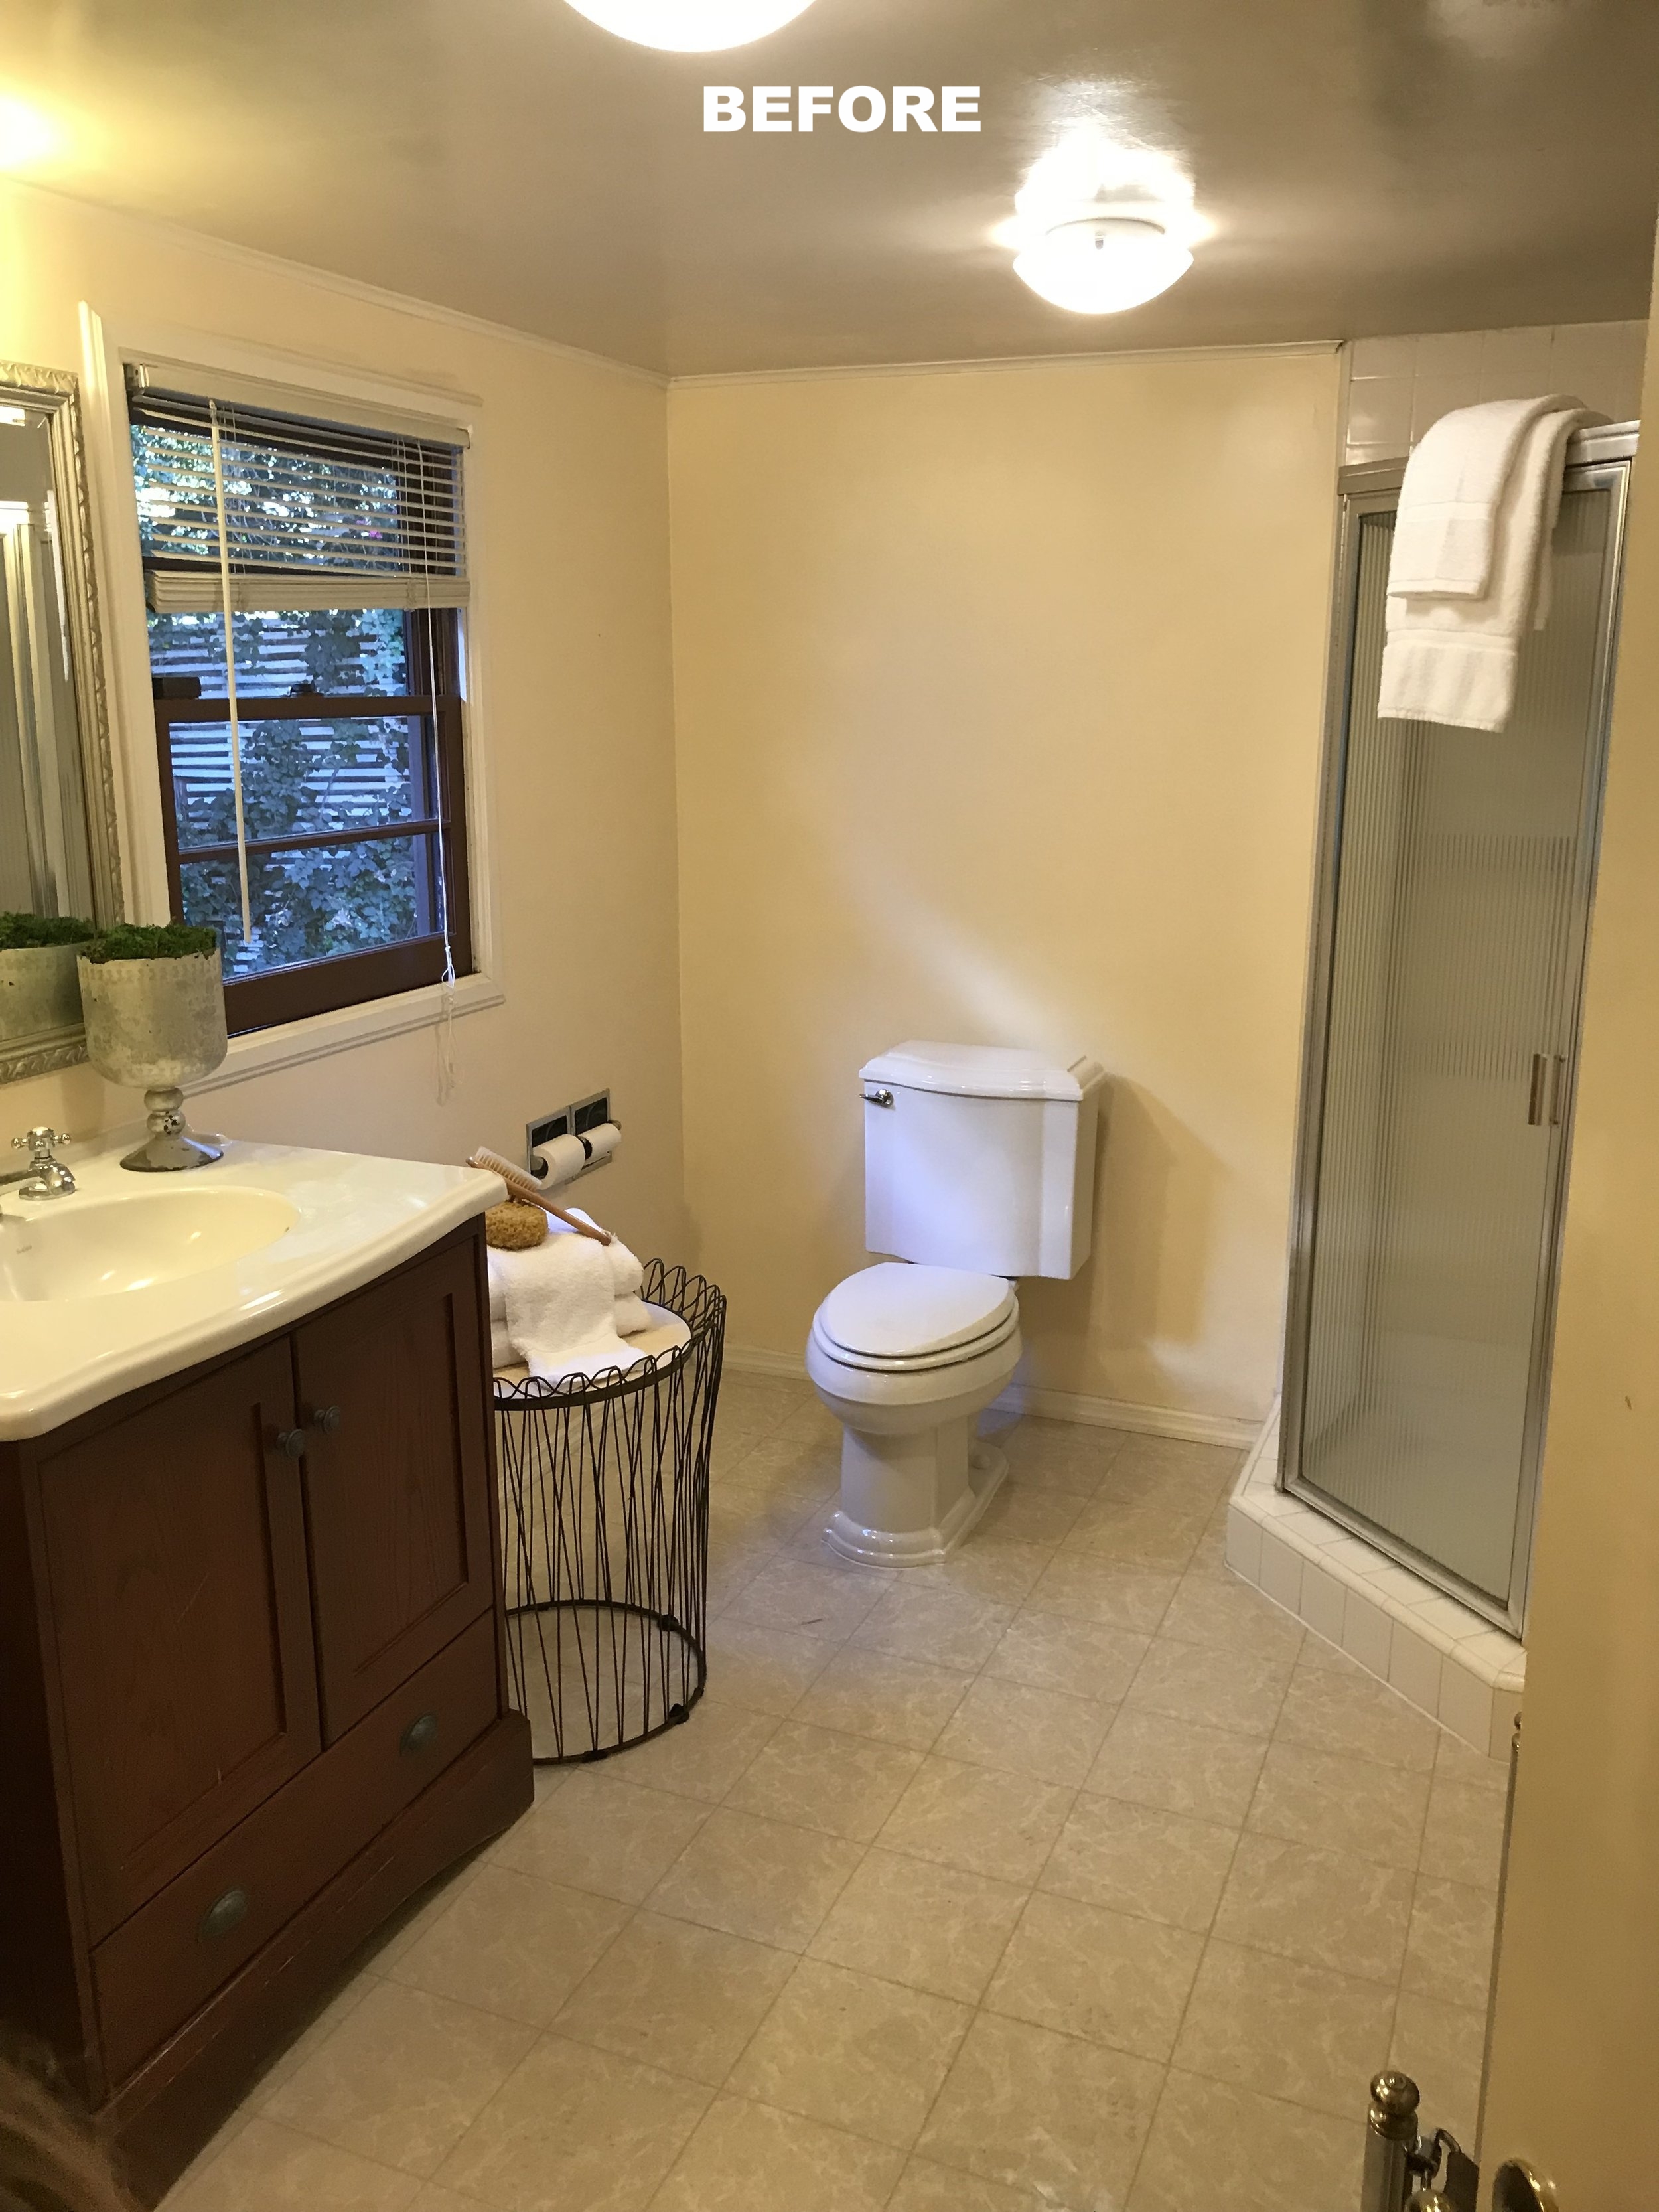
This was the bathroom before. Laminate floors, 90 year old tile, 8’ ceilings, no natural light, mold, more mold, and a hell of a lot of mold. We took the ceiling off, moved the walls, and added a skylight. This room was completely demolished.
This room was very difficult to photograph because it was so small and I was using my iPhone, but to the right was the existing master closet. You could barely walk inside it and it was dark, creepy, smelly, and not functional. What I did was remove the closet all together, knock down the wall, and then made that the room for the toilet. See the next picture …..
So here it is gutted ... bathroom, closet, walls, all of it …… peace out.
And here it is framed with insulation. I arched the doorway so it matches the original arches in the house. I moved that wall to the right back a bit, made a giant shower, and then a separate area for the toilet. I also had to re-plumb so the vanities will now be on the right side, and we obviously needed new plumbing for the proper master shower. Also friends … please notice the skylight! I vaulted the entire ceiling up to the roofline and by doing that we added so much more height. The room is also now filled with tons of natural light! Robert did an amazing job designing this bathroom to get the most we possibly could out of it.
BTW this is why I can’t post more frequently. I’m literally slinging trash all day … Bahhhhh.
Here is the master bath with the dry wall completed and the new doors framed. I love how the skylight adds so much light. I can’t tell you how happy this skylight makes me.
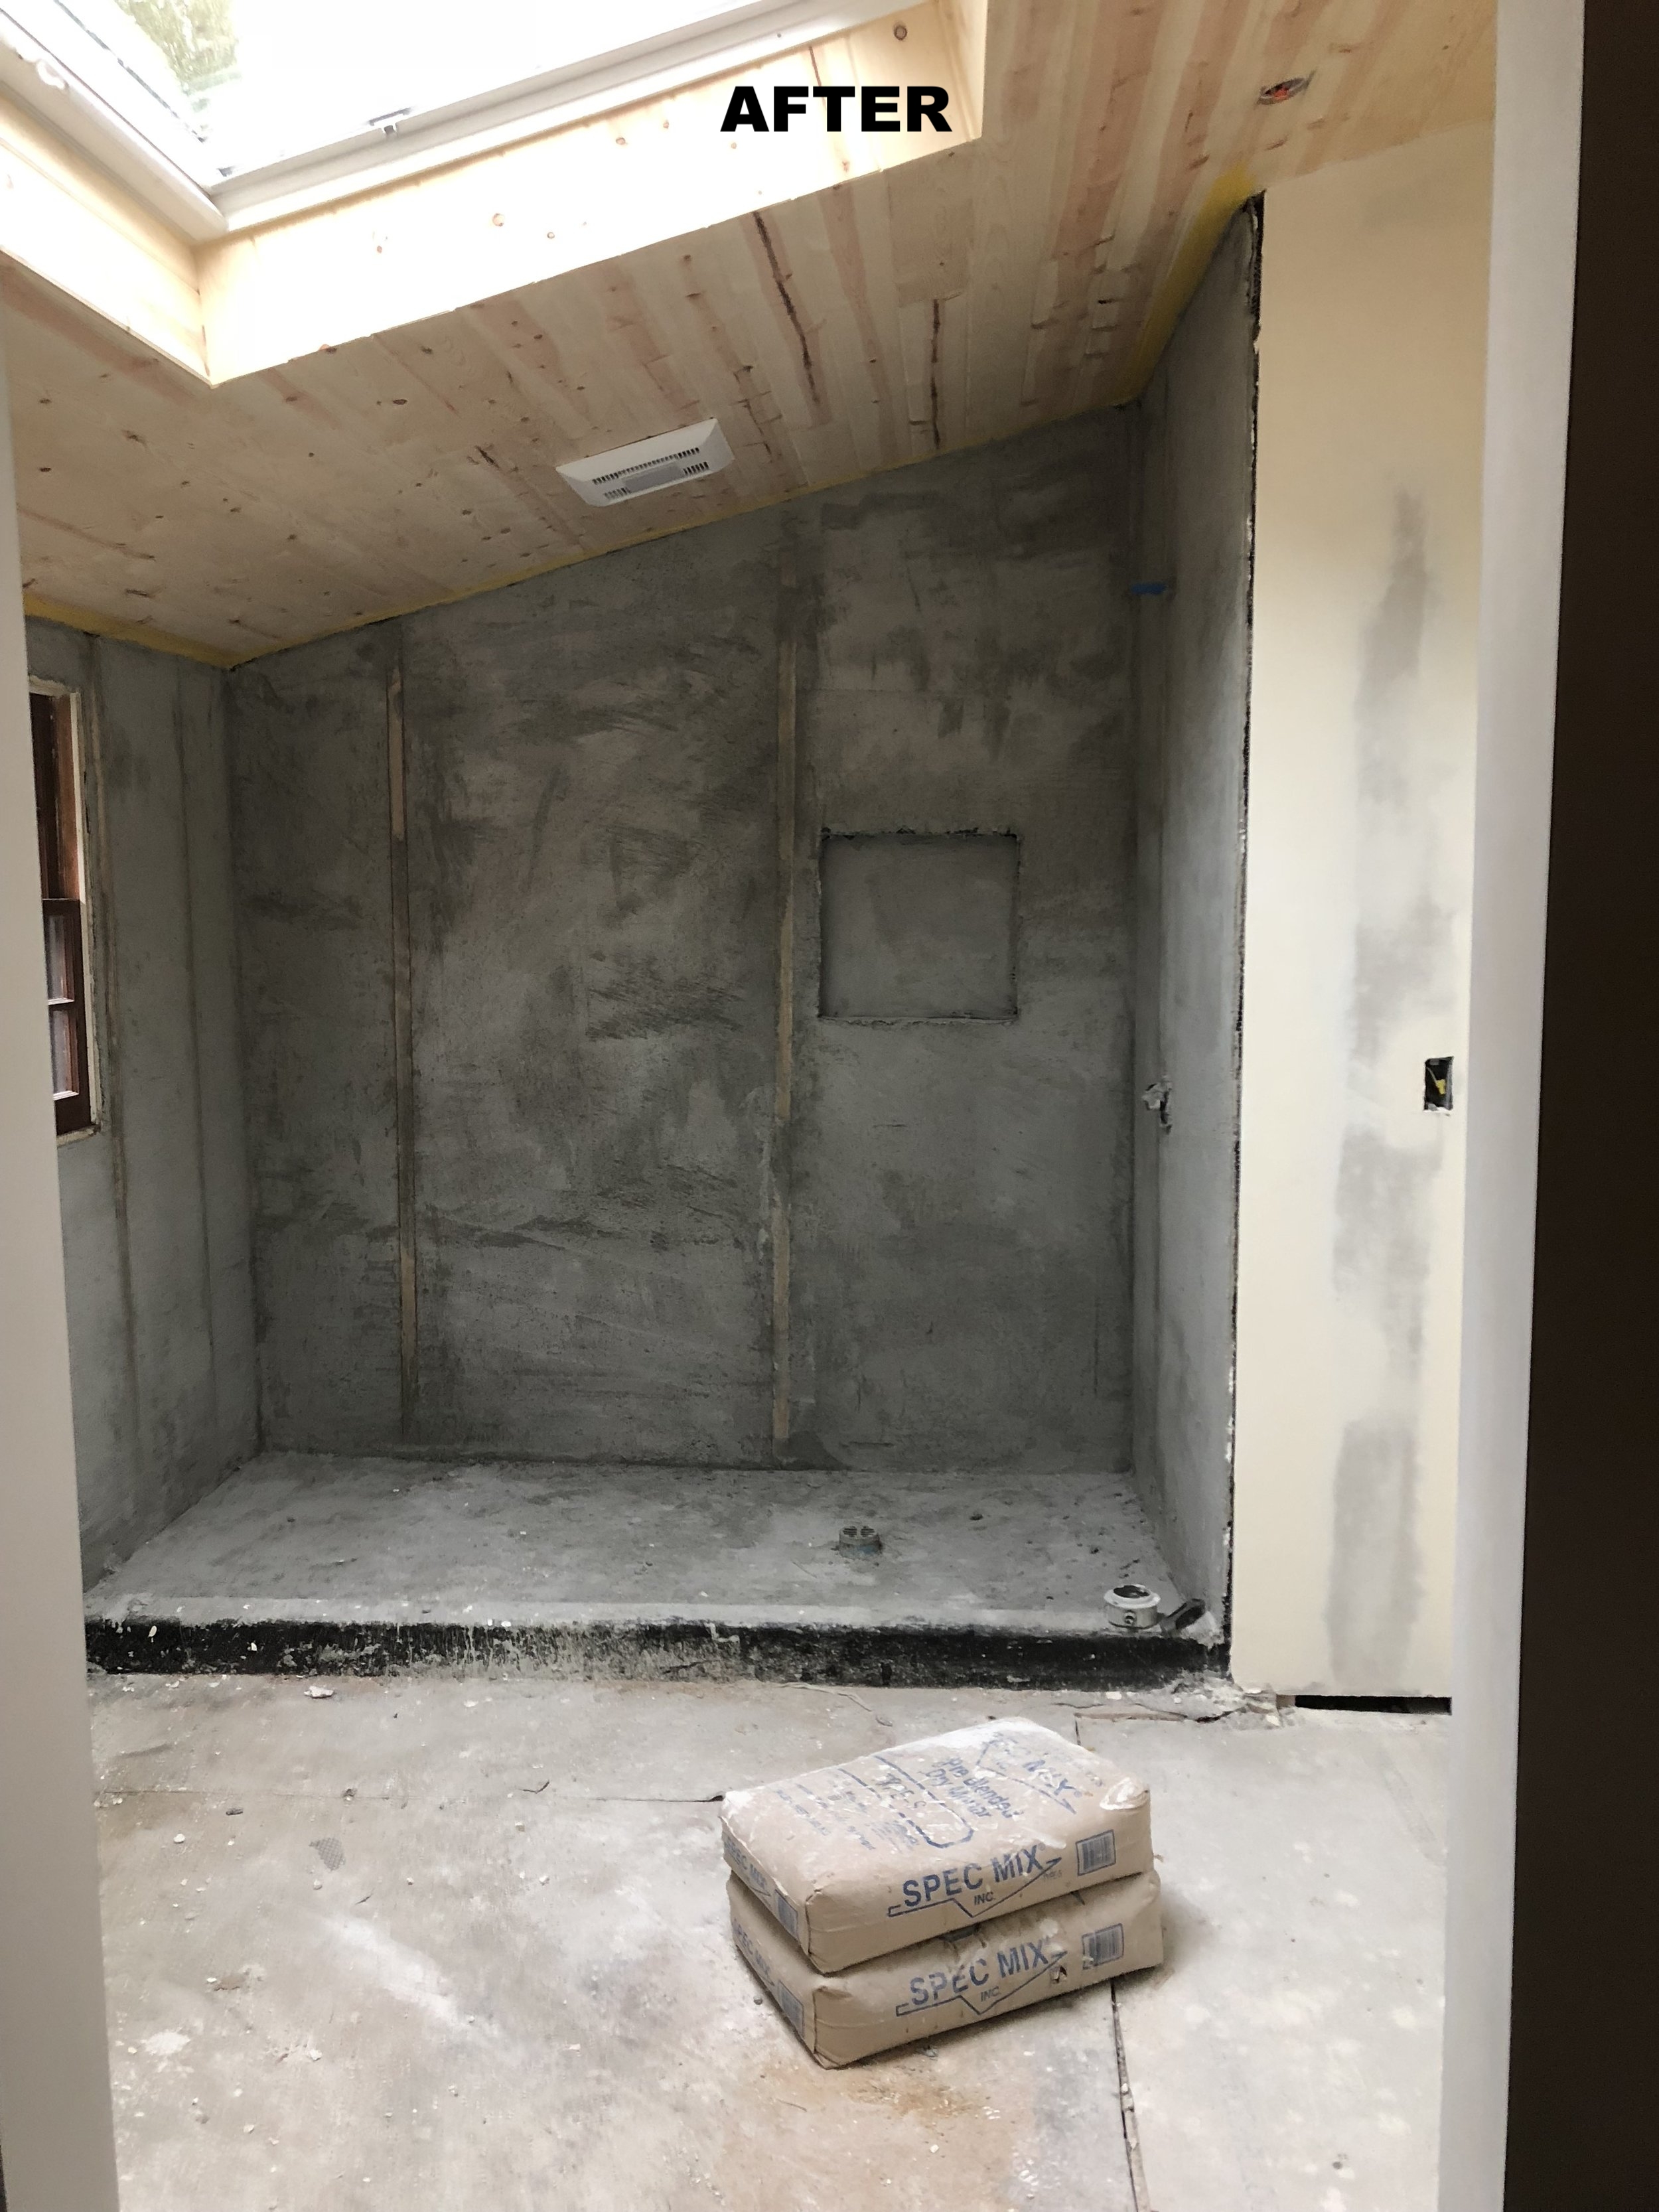
And here we are with the new tounge and groove ceiling. The walls are taped, the plumbing is done, and the cement has been floated in the shower. I’m now ready to tile everything and paint.
We are almost there!! I’m so excited to wrap this project up! And if you are wondering why those bags of mortar are in every picture …. they weigh 94lbs each and I couldn’t move them by myself! Hahahaha!


